Issuing Passports
The RBTP Knowledge Base is evolving weekly as part of our pilot programs with RBA members. We’d love your input — submit feedback or help shape the protocol in real time by joining a pilot.
Issuing Exercise - Issue a Verified Digital Product Passport
💡 Create a DPP for Downstream – OEM Digital Electronic Goods Passport
Steps
-
Visit the Interactive VC Map - https://www.rbtp.pyx.io/interactive-vc-map
-
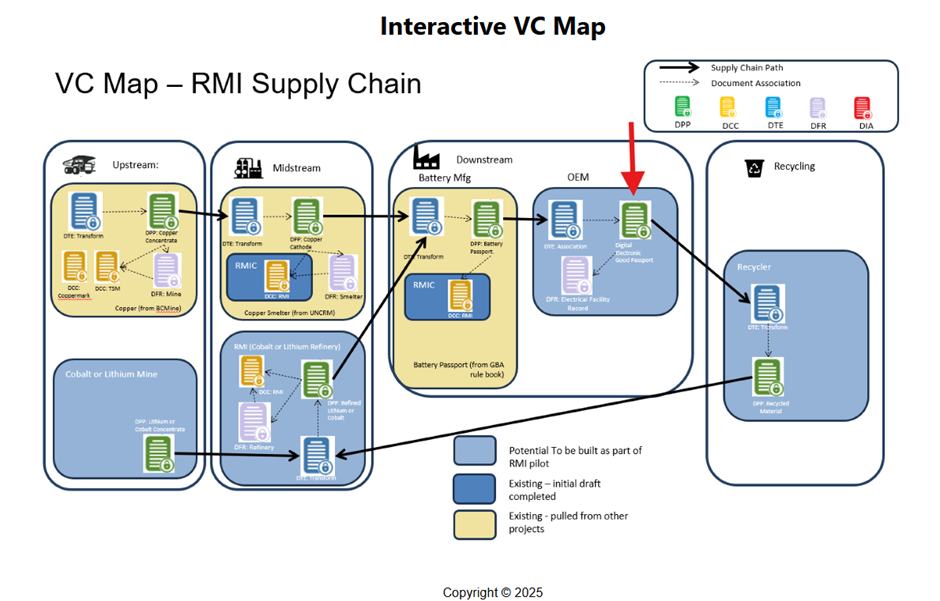
Select and click the OEM Product - Digital Electronic Goods Passport (DeGP)
-
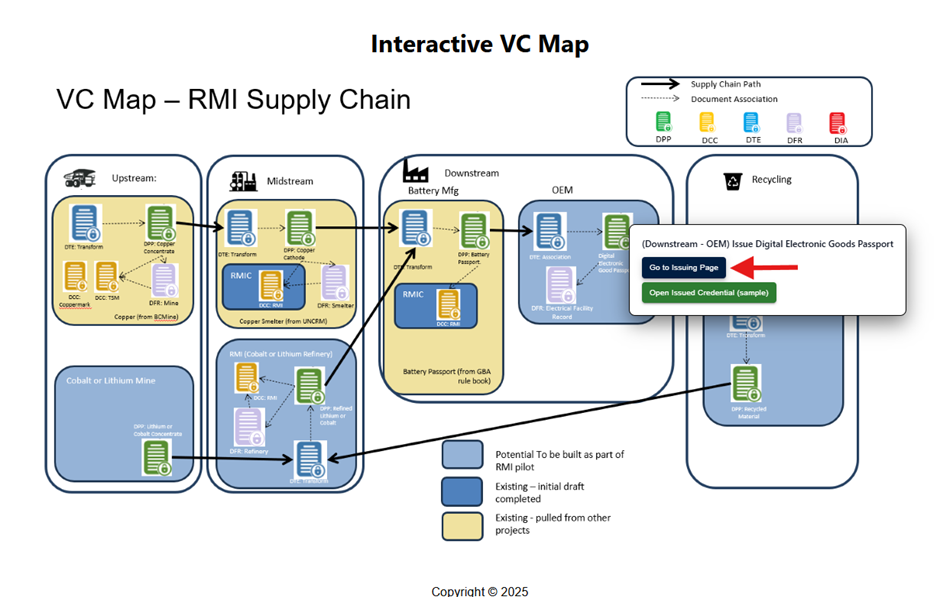
Click the Digital Electronic Goods Passport (DeGP) icon, then select the 'Go to Issuing Page' button.
-
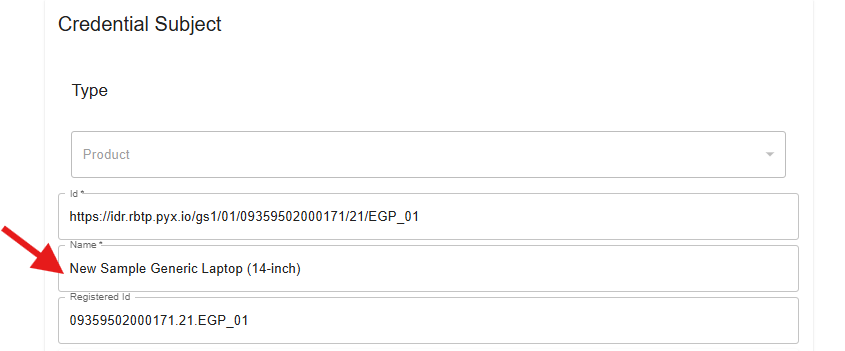
On the issuing page, update one of the input fields for the DPP:
- Go to the Credential Subject section and update the Name input field to your liking.
- For this exercise, we won't be updating the other fields, but please refer to the "Input fields description" for more details.
- Go to the Credential Subject section and update the Name input field to your liking.
-
Click on “Submit” at the bottom of the page and you will have your DPP: OEM Digital Electronic Goods Passport issued.
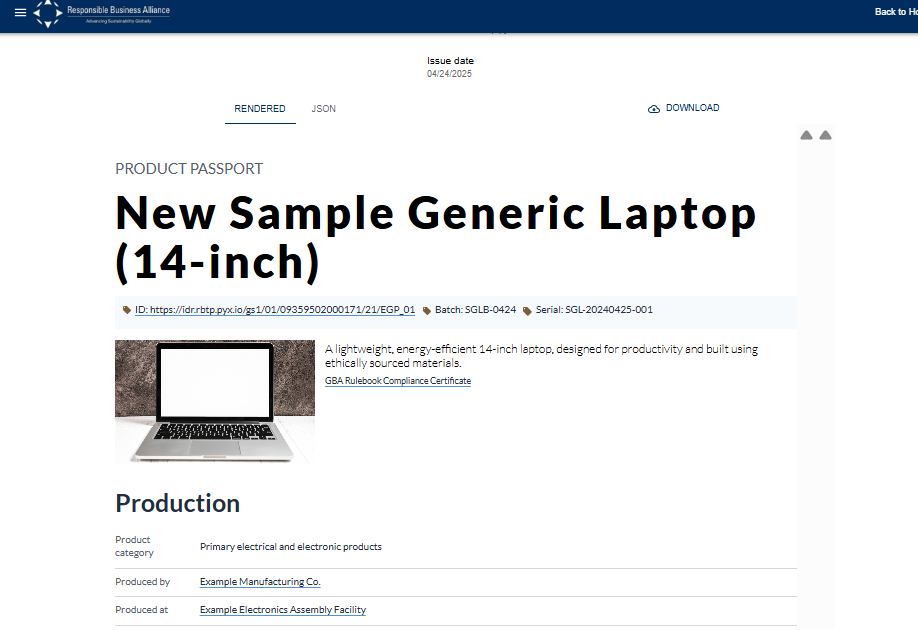
Input fields description
-
Type: specify the credential type
-
Context: define the semantic meaning of properties within the credential.
-
Issuer: information about the issuer person or organisation. You can modify the id and name.
-
Validity period: You can specify the start and end dates for which the DPP is valid.
-
Credential Subject: information about the product within the identifier scheme. You can modify the Id, Name and Registered Id.
-
Id Scheme: contains the identifier scheme type, id and Name. You can modify the Id and the Name.
-
Product Image: contains the product image as a URL, name and type. All these fields can be modified.
-
Product Category: code representing the product class, typically using the UN CPC.
-
Produced by Party: specify the information about the entity within the identifier scheme. You can modify the Id, Name and Registered Id.
-
Id Scheme: information about the registration scheme. You can modify the Id and Name.
-
Produced At Facility: information about the entity within the identifier scheme. You can modify the Id, Name and Registered Id.
-
Dimensions: it includes Weight, Length, Width, Height, and Volume. All these fields can be modified.
-
Due Diligence Declaration: contains the target resource information. All these fields can be modified.
-
Materials Provenance: details on the origin and mass fraction of components or ingredients of the product batch. You can click the “+” icon and add each component or ingredient.
-
Conformity Claim: contains product conformity claims about the product / batch. You can click the “+” icon and add each conformity claim.
-
Circularity Scorecard: provides a simple high-level summary of circularity performance of the product. You can modify the URL, Name and Type for the Recycling and Repair Information.
-
Emissions Scorecard gives a clear snapshot of the product's greenhouse gas (GHG) emissions performance, providing a single indicator to assess its overall environmental impact. All these fields can be modified.
-
Traceability Information: contains information about this traceability data set. You can click the “+” icon and add a Traceability Event and modify the Value Chain Process and Verified Ratio.
Issuing Exercise - Issue a Digital Traceability Event (DTE) and attaching multiple DPPs
💡Create a DTE for Downstream – OEM Digital Electronic Goods Passport
Steps
-
Take note of all the DPPs IDR Link. You can use the default DPP in the Interactive VC Map.
- Copy the link to the Sample Issued Credential
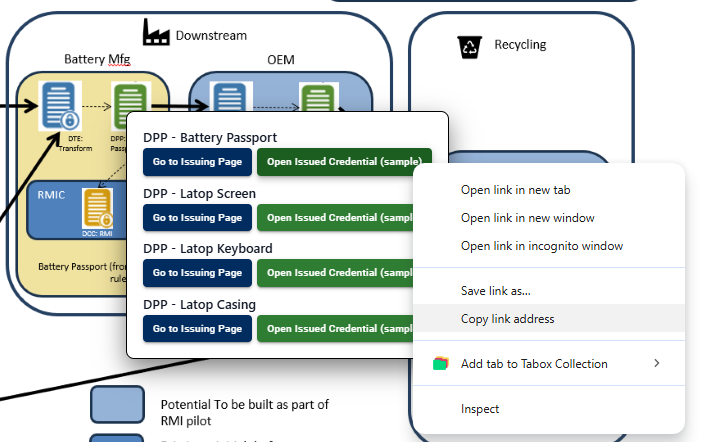
- Copy the link to the Sample Issued Credential
-
Go to the OEM - DTE: Association Issuing Page
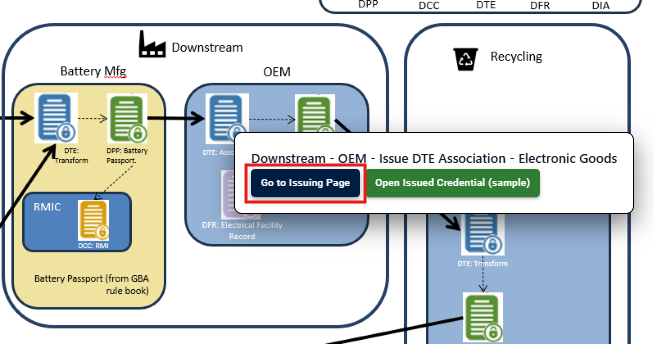
-
Scroll to the bottom of the Issuing Page and go to the Child EPC List section.
The Child Electronic Product Code (EPC) are list of items (can be a DPP) that constructs the parent EPC (which in this example is the Generic Laptop Electronic Goods Passport)- Add all the components to the list. Fill in the ID and the Name accordingly
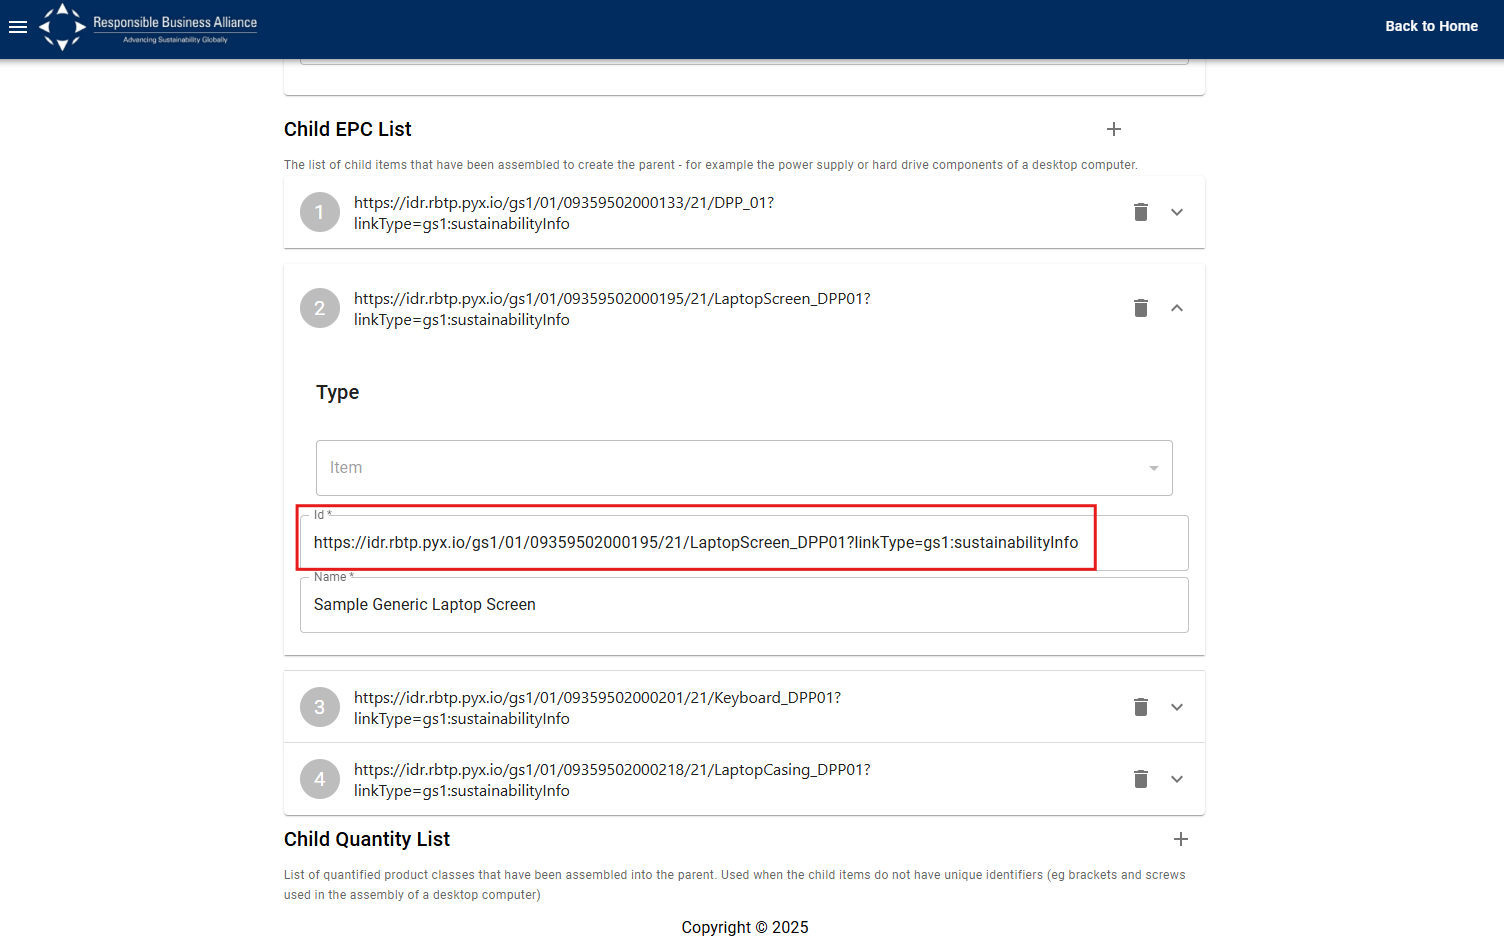
- If the Child EPC consist of multiple items, you can use the next section (Child Quantity List) to specify the quantity used.
- Add all the components to the list. Fill in the ID and the Name accordingly
-
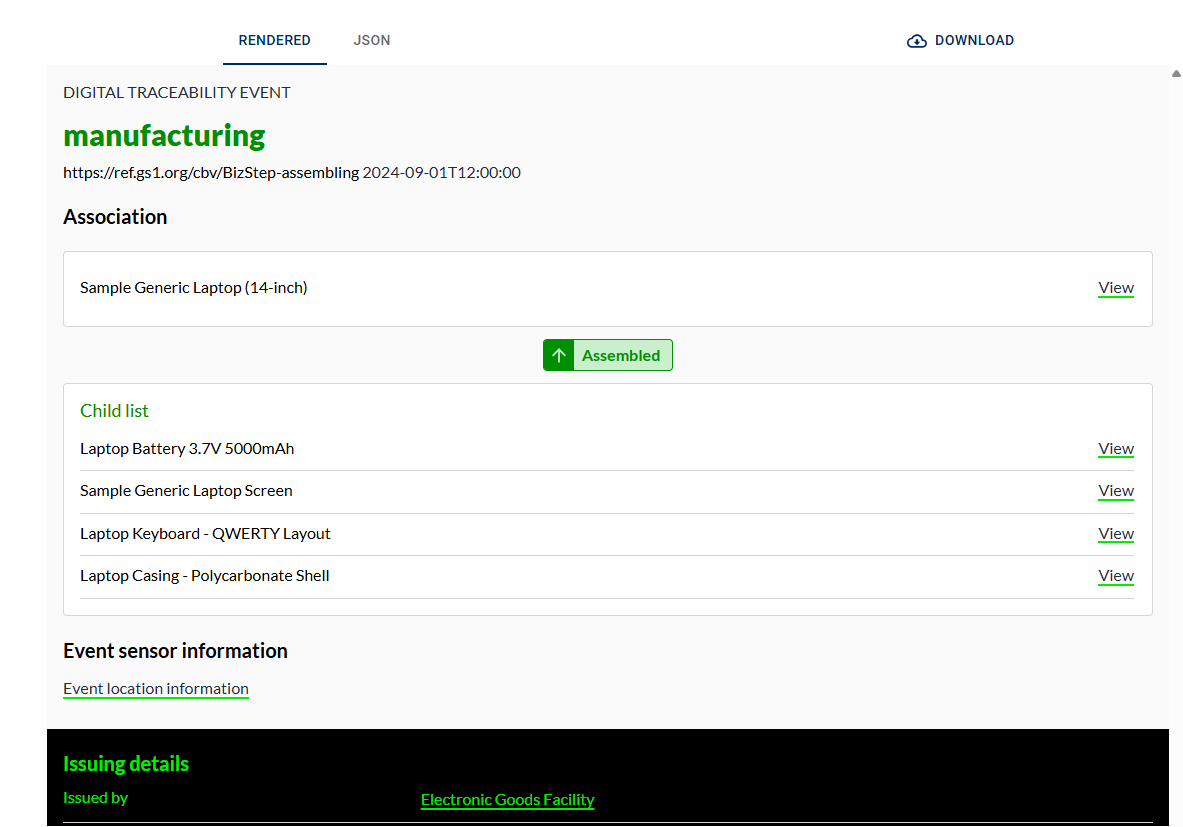
Once inputted, click on submit to issue the DTE and you can see the issued DTE similar to the following
